Add an Image
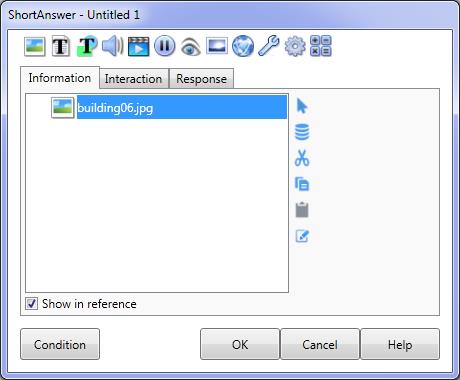
The Image Action allows you to display images. You may position and resize images in a variety of formats. Selecting the Add an Image button on the toolbar will display the Select File dialog. Select the file of the image you want to display - the file will immediately be copied into your lesson directory. The image you have selected will be displayed in the Lesson screen and the Image dialog will appear - with the Image tab displayed (allowing you to change the properties of the Image action).
|
||||
Dialog controls |
See The Action Toolbar for information about the dialog controls displayed at the bottom of the dialog box.
|
|||
Image tab |
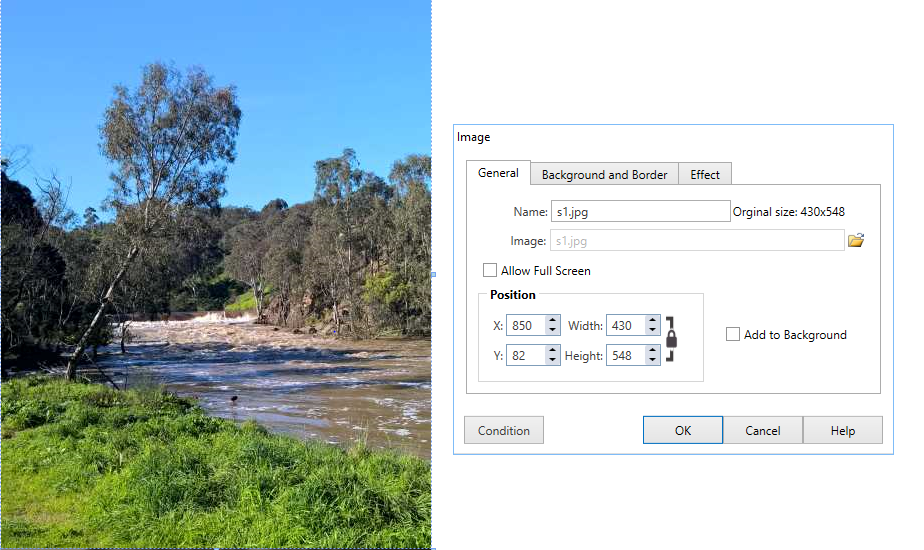
The Image tab on the Image dialog allows you to select the image to be displayed, resize (if required) and position the image.
|
|||
Name |
This is the name of the Image action (that will be displayed in the Action list of the Element dialog). The default Name is the name of the file in the Image field. |
|||
Image |
The Image field displays the name of the selected image file - this field can only be changed by selecting a different file using the Folder button to the right of the Image field. AUTHOR™ supports JPG, GIF, BMP and PNG formats. |
|||
Allow full screen |
If this box is checked the user may click on the graphic to display as a full screen image. |
|||
Size of image |
The image may be resized to requirements. However, we recommend that you save the images in their required size before using them in AUTHOR™ as the reduction and expansion functions simply add and remove pixels. If the lock icon is closed then the image will resize with the same aspect ratio. |
|||
Position |
You may set exact X, Y co-ordinates for the image as well as width and height. |
|||
Add to Background |
The Image action can be added to the Lesson Background by checking the Add to Background checkbox. See The Lesson Background and Benefits of Persistence for more information. |
|||
Background & Border |
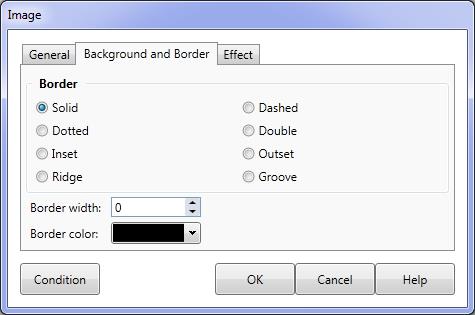
The Background and Border tab allows you to select a border for the image.
|
|||
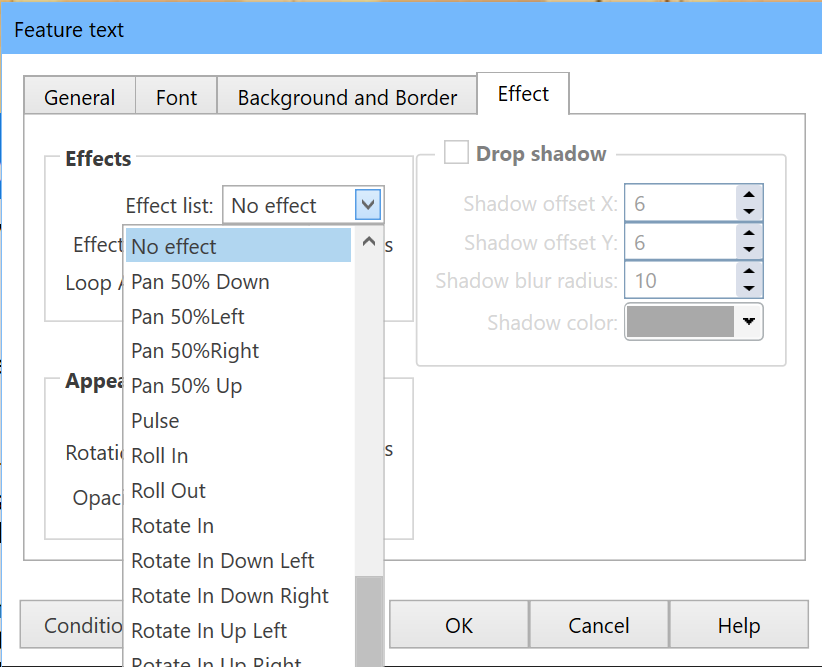
The Effects tab allows you to specify up to 11 different special effects to use in displaying the image. Effect duration indicates the time required for the special effect
|
||||
Effect List |
Select one of the 11 special effects |
|||
Effect duration |
Specifies the time required for the special effect |
|||
Rotation/Opacity |
These are CSS effects and, if possible, will use your graphics hardware to produce smooth animations. In and Out effects. A number of the animations have In or Out in their names. An In effect will move or rotate the text or image to it's final position. An Out effect will move or rotate the text or image until it's no longer visible. If you wish a text or image to enter a page and then exit the page, use a Change Action on the original text with an In effect and set it to and Out effect. Remember to set an appropriate pause between the two to allow the In effect to occur. You may also specify the Rotation and Opacity for the Image. Note that only some special effects will be available if you specify rotation |
|||
Drop shadow |
Customise the image drop shadow to meet your requirements. Hint: Use the same shadow effect throughout an eLearning module - changes to the 'lighting effect' without obvious reason can be distracting to the trainee. |
|||
Shadow Offset X & Y |
The X-offset (horizontal) and Y-offset (vertical) values set how many pixels to the left or right, or above or below, the image the shadow will appear. |
|||
Shadow blur radius |
Shadow blur provides a transparency gradient around the outer border of the shadow (sometimes referred to as fade). The value in the Shadow blur field sets the number of pixels that will show a transition effect. The higher the number (0 - 30) the greater the width of the faded border. |
|||
Colour |
Select a shadow colour from the colour palette provided or enter the specific RGB values required. These are CSS effects and, if possible, will use your graphics hardware to produce smooth animations. In and Out effects. A number of the animations have In or Out in their names. An In effect will move or rotate the text or image to it's final position. An Out effect will move or rotate the text or image until it's no longer visible. If you wish a text or image to enter a page and then exit the page, use a Change Action on the original text with an In effect and set it to and Out effect. Remember to set an appropriate pause between the two to allow the In effect to occur. |
|||


