Creating a Menu Lesson
|
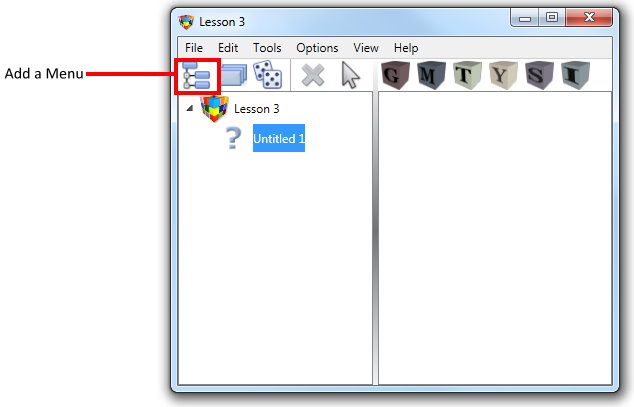
To create a Menu Lesson, on the Lesson dialog:
|
||
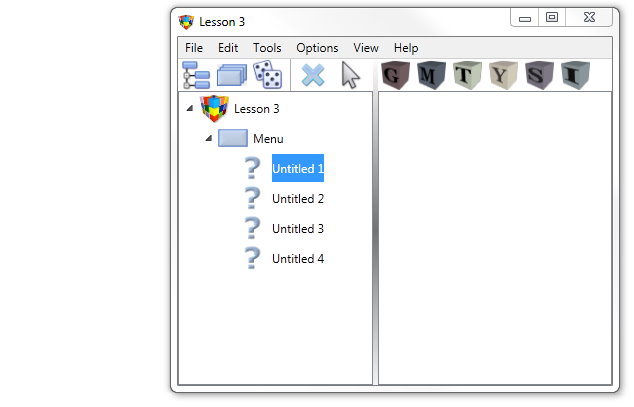
The Structure list will update to display a Menu icon, with four menu options as blank Lesson Type icons (question marks).
|
|||
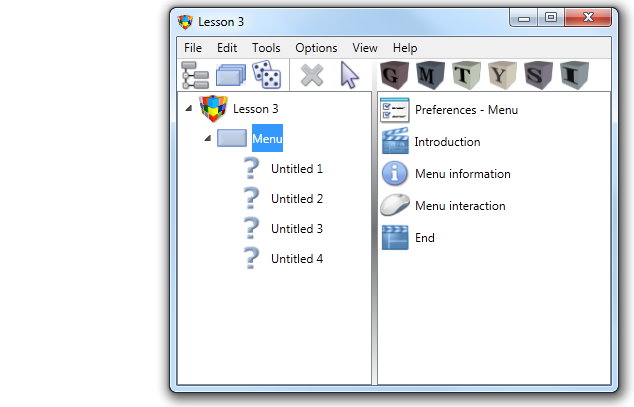
These blank Lesson Type icons can be changed to sequential or random options or other menus as required. The characteristics for a Menu can be viewed by highlighting the Menu icon. The Contents list will then display the Preferences, Introduction, Menu Information, Menu Interaction and End icons.
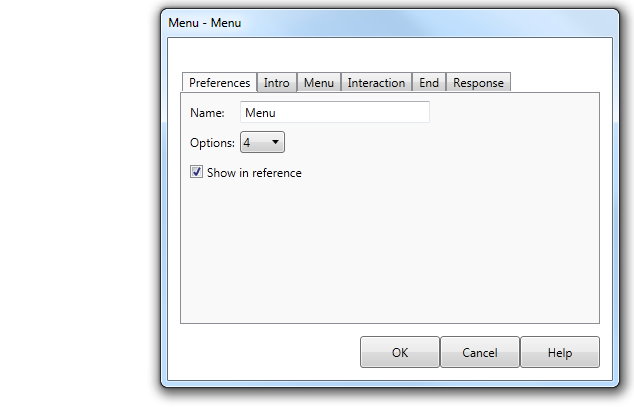
Highlighting any of these icons and clicking the edit button will show the Menu dialog. |
|||
|
|||
Preferences
|
The Preferences tab allows you to change the name and the number of options associated with the menu. |
||
Introduction tab |
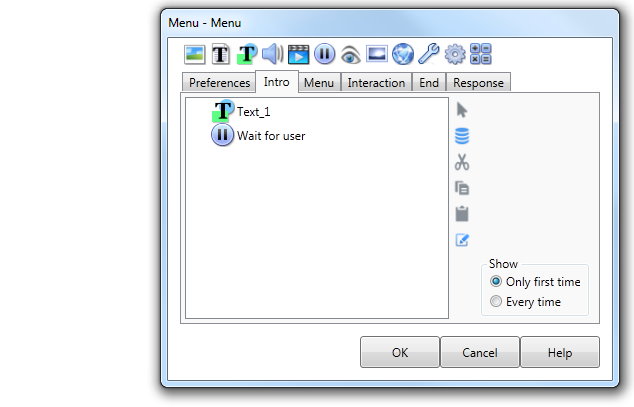
The Introduction tab contains an Action list. You may decide to place a Text Action containing some introductory text in this Action list. Options are available to execute the Action list every time a trainee enters the menu during a Lesson, on only the first occasion, or, if it is a sub-menu, on every occasion that the trainee chooses that option from a higher level Menu. You may place several screens in the Introduction, which may make it hard to view - as AUTHOR™ will only display the end state of the list. Use the right mouse button when positioned over the list to choose to display from and to positions - this will enable you to view just a part of the sequence.
|
||
Whilst running, a Lesson will move directly from the Menu Introduction to the Menu section with no delay, so you will need to add a pause Action to the Action list if a delay is desired. Any Actions in the Menu Introduction that are visible on the Lesson Screen will be erased as the Lesson leaves the Introduction. |
|||
Interaction tab |
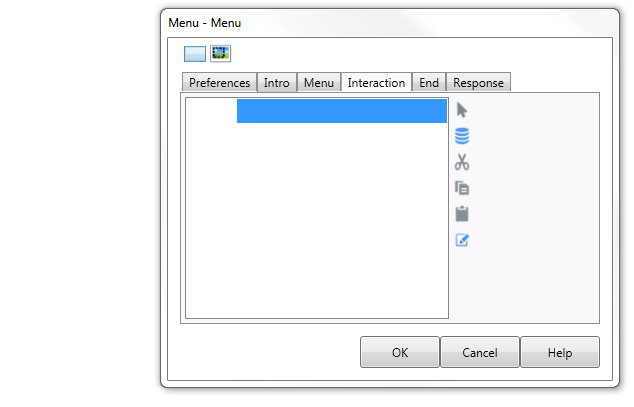
The Interaction tab contains an Interaction list. You can add buttons to the Interaction list that allow the user to select an option attached to the current menu.
|
||
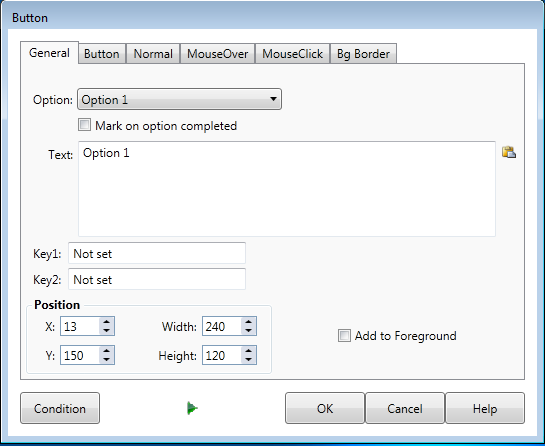
After you add a button to the Interaction list, the Button dialog will display with the General tab displayed as the default. |
|||
Option |
The General tab of the dialog contains an Option drop down list, which contains a list of the sequences within the current menu. Choosing one of the sequences from the Option list will define which of the sequences will be implemented when the user clicks on the selected button. So you will need to define buttons for each of the sequences that are attached to the menu. The Option drop down list also contains an item named Exit. This allows you to add a button to the Interaction section of the Menu that allows the user to exit the Lesson. When the user clicks on a button with its Option property set to "Exit" the Lesson will end or may move to End section of the Menu. This depends on the settings defined in the End tab of the Menu dialog. |
||
Mark on option completed |
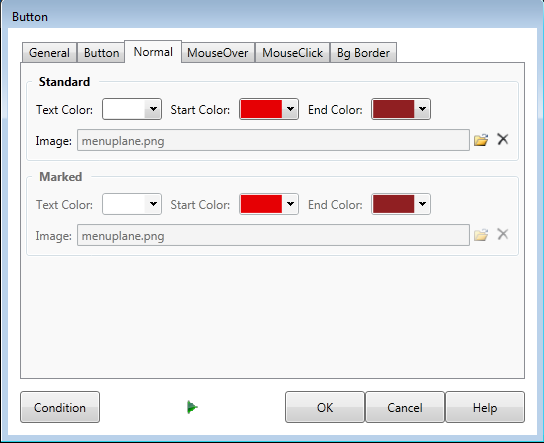
Each Button you add to the Interaction section of a Menu also may show a mark when the option is completed. This property can only be set if the Button you are adding to the Menu Interaction section is a Custom Button. The property is found on the General tab of the Custom Button Dialog and set in the Normal tab. The Marked image will be displayed when the Menu option that is associated with the button is completed by the user.
When the user returns to the Menu, the image associated with the button is replaced by the image defined in the Tick property of the button. If the Button had no image defined originally the Tick image is merely displayed in the button. The motivation for setting the Tick property is to give the user a visual indication that they have completed the associated option. |
||
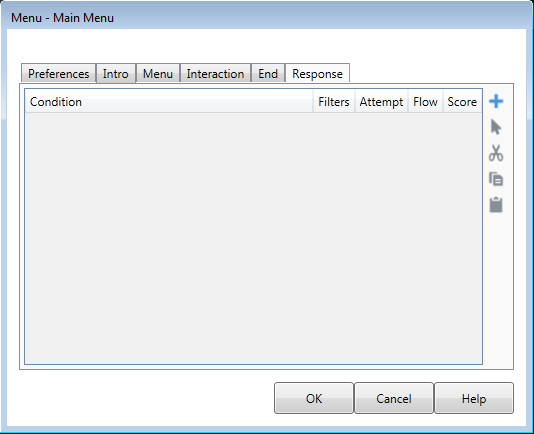
Response tab |
The Response tab allows you to provide feedback to the trainee about their performance at the end of the lesson. |
||
|
|||
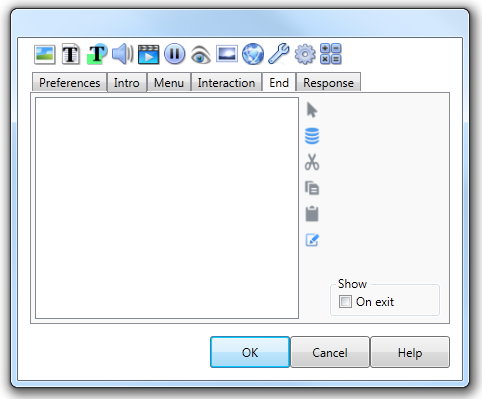
End tab |
The Menu End tab contains an action list that will execute when the user has completed all of the sequences attached to the menu. The End tab of the Menu dialog has an On exit check box. When it is checked the action list will execute whenever the user chooses to exit the Lesson by clicking on a foreground navigation button with its action property set to exit.
|
||
Adding elements |
Once you have completed creating your Lesson structure, you move on to adding the content of your lesson by adding Elements to the Content list. Detailed information about this process is covered in Adding Elements to a Lesson. |
||
